
How-To: Fix OS Partition with Zero Bytes Free on SBCs Running Linux From Another SBC Running Linux
By Bo Lechnowsky, President of ameriDroid.com:
Backstory

Machined Aluminum Case
I use an ODROID-XU4 in a machined aluminum case like this one on my desk running Ubuntu 18.04.3 LTS with a 4.14 kernel with Thunderbird as my main email client.
This is in part to ameriDroid's commitment to use the products we sell in our day-to-day operations.
Not only do I monitor my main email accounts, but I also maintain an eye on the purchasing and orders accounts for ameriDroid in case I need to cover for one of our employees. Over the years, this has led to my ODROID-XU4's 32GB eMMC to fill up as my email profile was well over 22GB in size.
My Problem
This caught me by surprise and I was left with 0 bytes free. I tried deleting /home/odroid/.cache, but for some unknown reason, it didn't free up any space. I chalked this up to the filesystem being unable to recover from the 0 bytes free problem.
Although in my case the issue involved an eMMC, these same instructions may be handy in helping you to do the same with a microSD, or even an SSD or hard drive.
My Solution
Part 1

eMMC Adapter

USB microSD Device with
eMMC Adapter and eMMC installed
I opted for a 64GB eMMC. The easiest way for the average user to copy the smaller 32GB eMMC to the larger eMMC is to use Etcher on Windows or dd on Linux or Mac to make a disk image file, and then write that disk image file to the larger eMMC. If you already have a computer that has a microSD slot, all you should need is an eMMC adapter. Otherwise, it's a good idea to also get a microSD to USB adapter, or an eMMC to USB adapter like the two shown on this page. This blog article and this blog article may be of some help on how to do this. Or you can go to the Learn tab from ameriDroid.com's header and click on the eMMC topic for more articles.

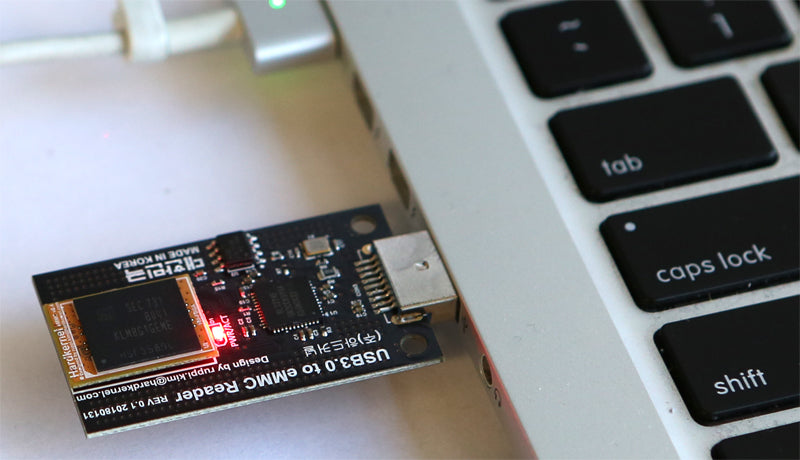
USB3 eMMC Adapter
with eMMC Installed
Don't hate me: Because ameriDroid has advanced eMMC duplication equipment, I simply cloned it on that equipment.
Part 2
The next step was to expand the partition.

A pair of ODROID-N2s
With a 0 bytes free problem, it would not be possible to boot the system on the new larger eMMC and use odroid-utility.sh to expand the OS partition as odroid-utility requires free space to operate and the partition hasn't been expanded yet. Instead, I mounted the newly-imaged eMMC on an ODROID-N2 running Ubuntu (that I also have on my desk) using an eMMC adapter. The same procedure should be possible using a Linux or Mac computer, but these instructions were tested on the ODROID-N2. I'm not sure if Windows could handle the operation as Windows doesn't recognize the native ext4 filesystem of Ubuntu without some additional drivers and configuration.
The screenshots below are all from the ODROID-N2 working with the ODROID-XU4's eMMC.
The first step was to elevate to superuser access with sudo su, and then to see the mounted volumes with df -h. After that, create a new mount directory for the XU4's eMMC OS partition using mkdir /media/odroid/emmc (this command not shown in the screenshot below). Once the mount directory is created, mount the eMMC's OS partition with mount /dev/mmcblk1p2 /media/odroid/emmc.
Be aware that the eMMC's device (i.e. /dev/mmcblk1p2) may be different between OSes.
Now that the eMMC is mounted, you can perform another df -h to verify that it is showing up as an accessible filesystem, or you can cd to the directory and ls (lowercase LS) the contents. If contents show up, you know that it was mounted correctly. At this point, you can manually remove or add files if you desire.

The next step is to adjust the partition. On Ubuntu, a really easy method is to use gparted as seen below. Make sure to select the correct device in the upper right corner of the gparted window. Right-click the second partition formatted in ext4 format, and select Resize/Move. Under New Size (MiB), enter the number listed as the Maximum Size in that same window. Then, click the Resize button.

Even though the Resize button has been clicked, the partition is not yet resized. Make sure to select the Edit menu and Apply All Operations.

Now, run df -h again to verify that the eMMC has been increased in size.

Step 3
Verify that it works and get back to business!
Now that it is verified, cd / to get back to the root of the OS and umount /dev/mmcblk1p2. Once it is unmounted, insert it in your original SBC and boot it and it should all work fine (at least it did in my case).
Please leave any comments below about helpful advice, challenges or tricks that you've come across!
Leave a comment