

DIY Project: Solar Meshtastic Node in a $13 Solar Wall Light
The i-Zoom 600 Lumen Solar Night Beam 180° LED Outdoor Wall Light is a compact solar security fixture that charges by day and runs automatically after dark. For about $13 it includes a capable solar panel on top of the housing, a rechargeable battery, and a charge controller, all in a weatherproof enclosure. That is the same recipe that makes it a perfect donor for a low-cost, fully solar-powered Meshtastic node. The RAK WisBlock baseboard drops into the compartment, and with a little soldering and one drilled hole you have a completely self-sufficient, wall-mounted covert mesh node that also happens to light dark places.

This guide follows the well-known Harbor Breeze solar light hack by tavdog/Tavis Gustafson, adapted for the i-Zoom Night Beam 180 that we carry in the store.
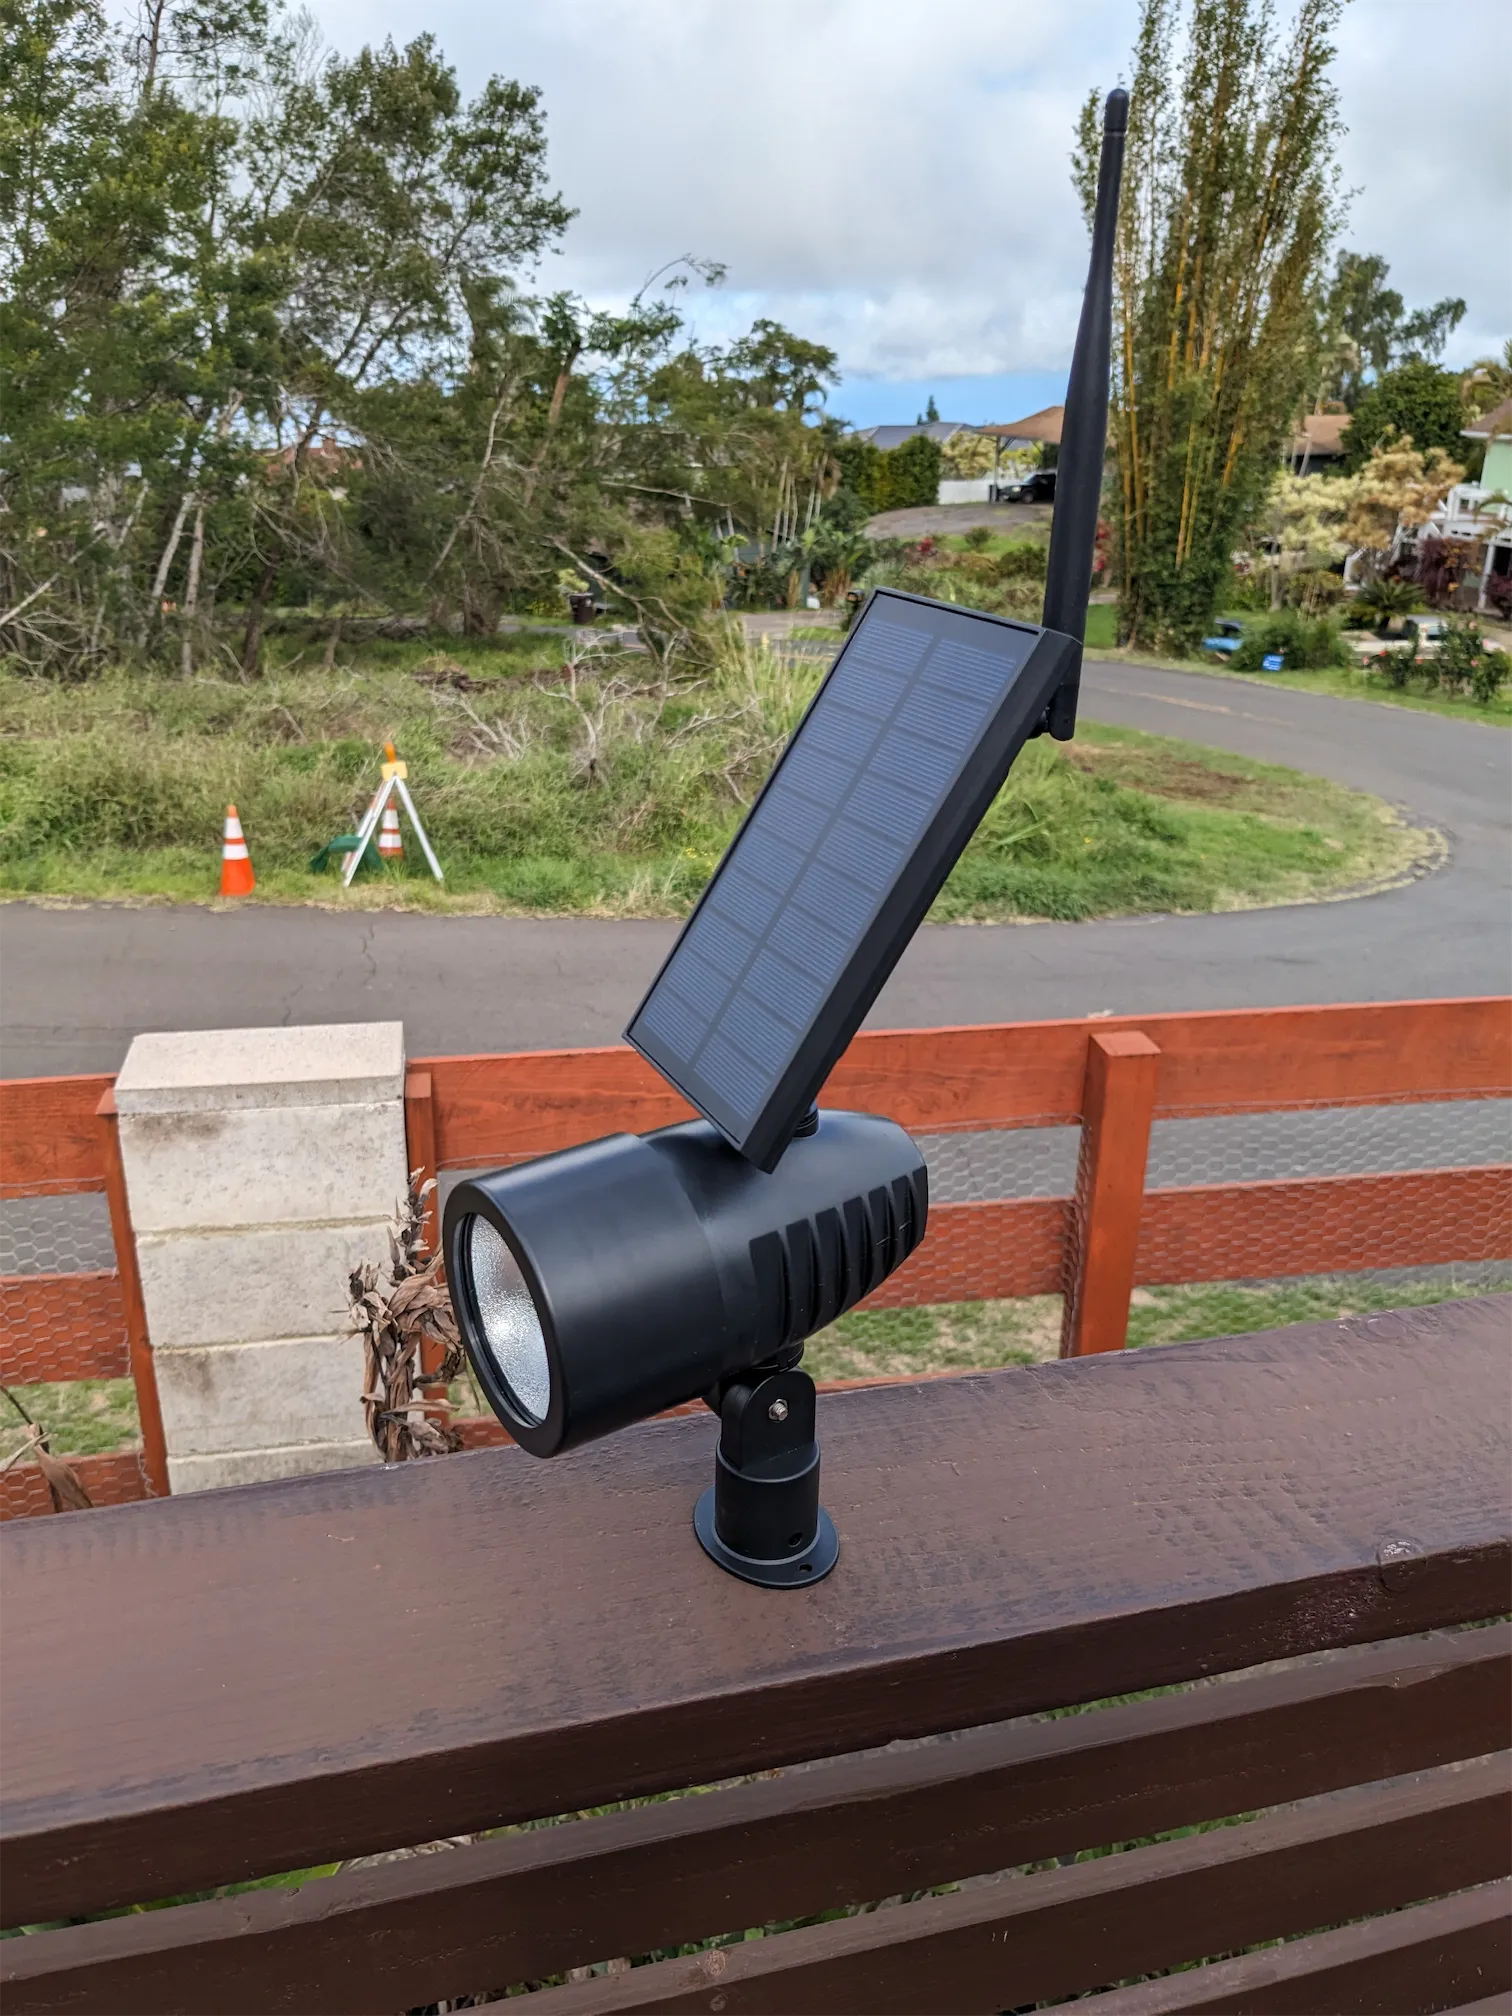 Solar hack complete. The original Harbor Breeze build, which this guide adapts for the i-Zoom Night Beam 180
What You Will Build
A weatherproof, solar-powered Meshtastic node hidden inside a working outdoor security light. The i-Zoom handles the solar charging and the battery, and the WisBlock Meshtastic Starter Kit radio handles the mesh. No external power, no visible wiring, and a node that stays alive for months. Because the i-Zoom is a wall light with the solar panel on top, it mounts flat against the wall with the panel angled up toward the sun.
Skills Needed
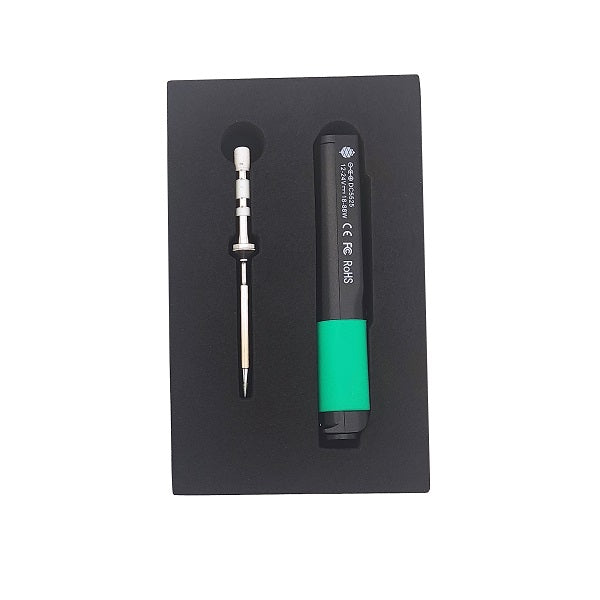
Some soldering is required, as well as drilling a hole in the plastic case. If you have done basic electronics work, this is an easy afternoon project. The Pinecil v2 soldering iron and soldering accessories are also available at ameridroid.com.
Items Needed
- WisBlock Meshtastic Starter Kit ($36.97). This is the RAK19007 baseboard with the RAK4631 core preinstalled, the same RAK hardware the original hack uses. It already includes the iPEX to SMA cable with a bulkhead connector and an SMA antenna, so you do not need to buy a separate pigtail.
- i-Zoom 600 Lumen Solar Night Beam 180° LED Outdoor Wall Light ($12.95).
- A JST-PH2 connector, if you want a plug-in type battery connection. A soldered connection works too.
- Sealing glue (silicone or marine sealant).
- A small drill bit for the SMA bulkhead.


Steps
Step 1. Unscrew the 4 small screws to open the solar compartment. On the i-Zoom, the solar panel is on top, so the battery and charge controller live in the compartment below it. That lower compartment is where the RAK baseboard goes.
Step 2. Solder your battery JST-PH2 connector or power wires to the + and - terminals of the built-in battery. If you do not have the proper connector, you can solder directly to the pins on the back of the JST-PH2 connector. Just make sure you get the polarity correct.

Step 3. Drill the hole for your SMA pigtail. On the i-Zoom, place the hole on the side or lower back of the housing so the antenna exits away from the wall without shading the solar panel on top. A perfectly vertical antenna via a 90 degree bend will not allow for a very flat panel, so choose wisely, or use an externally mounted antenna. You can skip this step if you want to use an internal antenna that fits.


Step 4. Install the SMA pigtail from the WisBlock Meshtastic Starter Kit. Seat the bulkhead in the hole and seal it with silicone or marine sealant. This is the only real waterproofing step, so take your time.


Step 5. Install the RAK module in the free space inside the solar compartment. You can lightly tack-glue it in place if you want to.

Step 6. Connect the antenna and battery and close up the back. Mount the i-Zoom flat on the wall with the included peel-and-stick backing or the screws and anchors, with the solar panel on top angled toward the sun.


Notes
- The light housing is not as waterproof as a dedicated solar enclosure, so be careful when you put electronics inside it. The i-Zoom has an IP44 rating, which handles rain and dust under normal conditions, but it is not a submersible box.
- Place the unit where it receives direct sunlight so the top solar panel can charge the battery (about 6 to 8 hours of direct sun for a full charge).
- The i-Zoom has a front ON/OFF switch with three lighting modes. Set it to the all-night lowest output mode to keep the light's draw on the shared battery low, which extends node runtime.
- The light will still turn on at night for a very stealthy node. The front switch lets you cycle the modes or turn the light off if you want it completely dark.
- Keep the antenna straight if you can. Some antennas perform much worse when bent, so ensure you keep them straight or test them with a NanoVNA.
Get the Bundle
We are bundling the two parts of this build together so you can grab everything in one order: the WisBlock Meshtastic Starter Kit and the i-Zoom 600 Lumen Solar Night Beam 180° LED Outdoor Wall Light.
i-Zoom Solar Meshtastic Node Bundle $48.95
That is the radio, the solar light, the SMA pigtail, and the antenna. Everything in the box for this build (except the soldering iron and sealant).


Links
- i-Zoom 600 Lumen Solar Night Beam 180° LED Outdoor Wall Light ($12.95)
- WisBlock Meshtastic Starter Kit ($36.97)
- Original Harbor Breeze solar light hack by tavdog/Tavis Gustafson
- 3D printed wall mount that keeps the antenna in a straight configuration (from the original build): Harbor Breeze Meshtastic Mount
- Updated mount with a piece to prevent unwanted rotation of the solar panel: Meshtastic Harbor Breeze Mounting Bracket (Improved)