
How-To: Photo Frame That Updates via Email
by Bohdan Lechnowsky
Purpose
I have parents who are getting up in years, and they live in states far from where their children and grandchildren live. They don't use computers much, but they would love to see what their offspring have been up to. So I decided to make this advanced photo frame that is surprisingly simple to make. In order that everyone in their lives can send them photo updates, I wrote an email script that checks a particular email address and if it finds a particular key in the subject, and has a photo attached to it, it saves the photo to the photo frame for display in the ongoing slideshow.
Parts Needed
To make this extra simple and provide lots of photo storage, I decided to use the following parts:
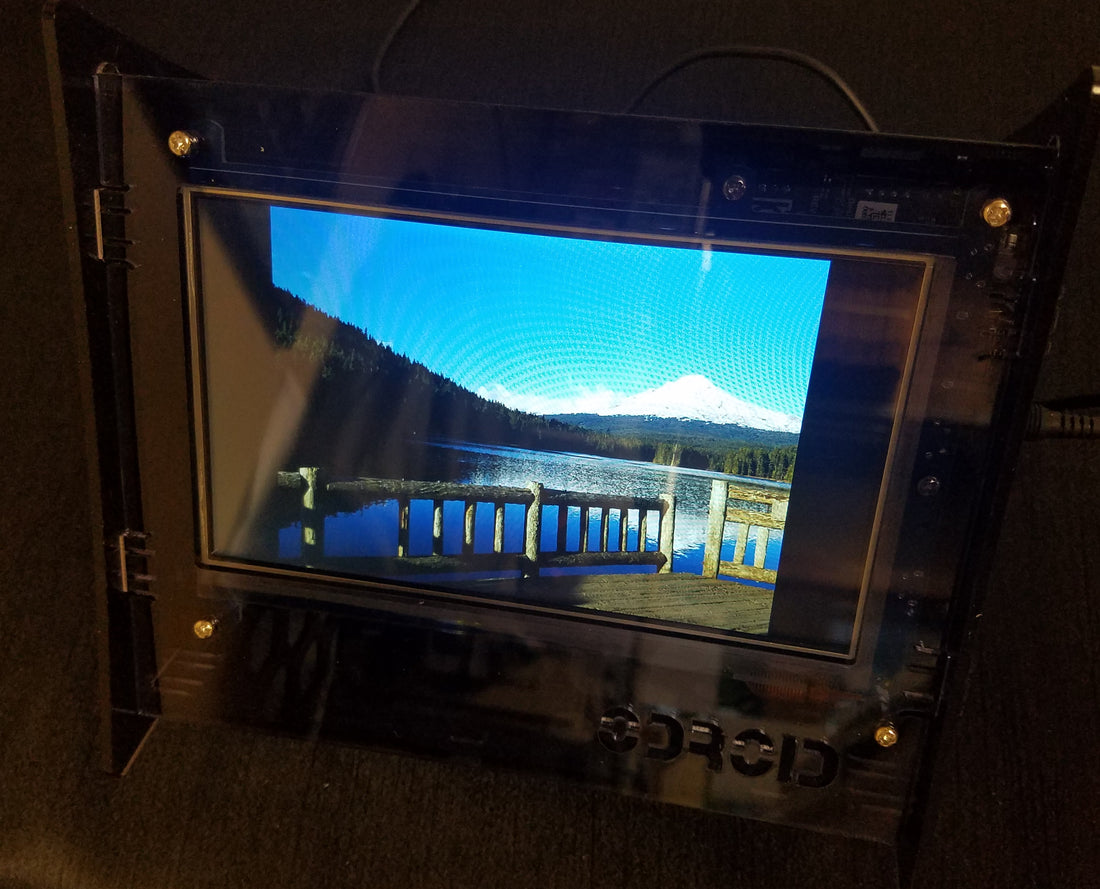
- VU7 A+ 1024x600 touch display
- VUShell Acrylic Case
- ODROID-C1+ (The C2 is an optional upgrade - The C0 and XU4 can also be used, but the microUSB Zender unit won't line up with those boards, so you'll have to have a cable looping outside of the VUShell)
- 5V/2A Power Supply
- 64GB eMMC Pink Dot (Ubuntu MATE for C1+)
- WiFi Module 0
You'll also need a keyboard/mouse to set up the system. I used this one.
The total cost should start out around $160 (using a 16GB microSD card instead of the 64GB eMMC, and connecting it to a wired Ethernet connection instead of wireless), and it should take about an hour total time to build and configure.
Because the Photo Frame needs Internet access to function as intended, an RTC clock battery isn't needed as the time can be updated directly from the Internet.
Steps
One of the first things that needs to be done is to set up an email address that will be used strictly for this photo frame. The photo frame script that is referenced below doesn't support SSL or TLS encrypted email providers, so that counts out most free email providers like gmail and hotmail. Your Internet provider may have an email offering that doesn't require encryption. We'll be providing a method in the future using fetchmail or some other Linux utility that allows downloading from encryption-required servers.
If you are not using a pre-imaged eMMC or microSD for the ODROID-C1+, follow instructions online (YouTube, etc.) on how to install Ubuntu for the C1+.
On to the actual assembly!
Take the plastic screen protector off the VU7.
Attach the screws to the four corners on the back of the VU7 to hex posts on the front side. This will hold the VUShell front panel later.
Use the remaining two screw holes on the VU7 to attach screws from the front side to the hex posts on the back side. This will hold the C1+ to the VU7.
Attach the eMMC or microSD card to the C1+.
You may wish to connect any USB devices and Ethernet cords you will be using to the C1+ now, as it will be easier than after the case is assembled.
Attach the C1+ to the posts on the VU7 using two screws.
Connect the microUSB and HDMI Zender boards to the C1+ and VU7.
Take the protective plastic off both sides of each acrylic piece included with the VUShell.
Attach the front acrylic to the VU7 with four screws included with the VUShell.
Attach the right side acrylic to the VU7 by snapping the tabs on the front panel into the slots on the side panel.
Attach back pieces 1, 2 and 3 to the right side panel.
Attach the left side panel to the front panel and back pieces by aligning the tabs with the slots.
Install the back door by aligning the tabs with the circle holes on each side panel.
Connect the power supply cord to the power port on the side of the C1+. The C1+ should boot up. After the ODROID login prompt appears, wait a minute or two while the boot media is resized to full capacity. The C1+ will likely reboot automatically when this is done. After the login prompt appears again, log in. If a password is needed, use odroid.
We'll want to update the system and then change the resolution to the native VU7 A+ resolution which is 1024x600. To do this, we need to launch an editor as superuser. To do this, navigate to Applications | System Tools | MATE Terminal.
In the terminal, type sudo apt update && sudo apt upgrade
If at any time you need to enter a password for sudo, use odroid
A number of updates are bound to be needed and it may take a while. The updater may ask some questions that can vary based on the system and version that will need to be answered to continue.
When this is complete, type in the terminal sudo pluma /media/boot/boot.ini

Delete the # in front of the line that states 1024x600, and add a # mark on the 1080p line.
Save the file and close Pluma. Type sudo reboot
The C1+ will reboot, and this time everything should be larger and easier to read.Now, it's time to get the software to run the slideshow. Open MATE Terminal again and type
wget http://www.rebol.com/downloads/v278/rebol-view-278-4-8.tar.gztar -zxvf rebol-view-278-4-8.tar.gz
mv rebol-view/rebol-view-278-4-8.tar.gz r2
sudo apt install xfonts-75dpi xfonts-100dpi feh
wget http://respectech.com/odroid/photoframe.r2
sudo dpkg-reconfigure tzdata
Select your timezone using the keyboard arrows, TAB, and ENTER keys.
Next:
sudo pluma /usr/share/lightdm/lightdm.conf.d/60-lightdm-gtk-greeter.conf
Add the following line to the end of the file:
autologin-user=odroid
Save the file and exit Pluma
In System | Preferences | Personal, click Startup Applications
Next, click Add.
In System | Preferences | Look and Feel | Screensaver, uncheck "Activate screensaver when computer is idle" and "Lock screen when screensaver is active". Next, click "Power Management" and change both drop-downs to "Never".
In MATE Terminal, type:
sudo crontab -e
Select your preferred editor and enter the following line at the end of the file:1 0 * * * /sbin/reboot
Save the file. This will cause the Photo Frame to reboot every night just after midnight. This should take care of any problems that may arise during normal use.
In MATE Terminal, now type:
sudo reboot
If everything went well, the photo frame should reboot and start the photo frame software automatically!