How-To: Set-up a Basic NAS using Samba
Share
By Miguel Alatorre, ameriDroid Technician:
On the ameriBlog, we’ve had articles covering why it’s a good idea to have your own network attached storage (NAS) device, and how to set up one of the various NAS products we feature on our store. While having a piece of hardware made specifically for NAS applications is ideal, that doesn’t mean that it’s impossible to make one out of any old computer [or new single-board computer]! Using Samba, anyone can turn an old tower or SBC into a file server!
NOTE: While a Samba server can be setup and run on Windows operating systems, this guide will focus on the Linux OS.
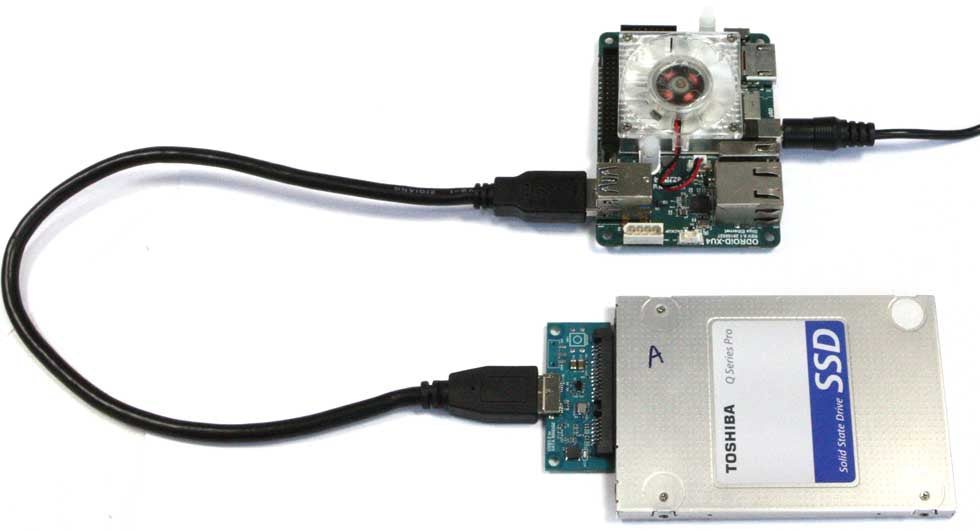
Now boot up your favorite distro of Linux on your machine (for this guide I’m using a Rock64 1GB and 2.5” HDD connected using the Hardkernel Sata to USB bridge). [Editor's note: In case you're curious, the blog picture shows an ODROID-XU4 and 2.5" SSD.] Install the latest version of Samba with the following commands:
sudo apt update
 sudo apt upgrade
 sudo apt install samba
Before configuring Samba, make sure that the drive is mounted and accessible. To mount it, enter sudo mount {Drive} {Mounting Point}, though make sure to substitute {Drive} and {Mounting Point} with the correct drive and directory respectively. [Something like this: sudo mount /dev/sda1 /mnt/extdrive]
NOTE: To find the correct drive, use the fdisk -l command.
From here we need to dive into the smb.conf file to setup the server. Before playing with the configuration, it is a good idea to make a backup in-case anything goes wrong. To do so enter:
sudo cp /etc/samba/smb.comf /etc/samba/smb.comf.bak
Next comes the fun part, to edit the .conf file, use your favorite text editor, or type:
sudo nano /etc/samba/smb.conf
For a simple server enter something similar to the following at the end of the file:
[Share]
 comment = Shared Files
 path = /path/to/share/destination
 writable = yes
 guest ok = yes
 browsable = yes
That’s all, to access the share on Windows, enter \\Samba.Server.IP.Address in the file explorer search bar; for macOS, select the “Go” tab and enter smb://Samba.Server.IP.Address [in either case, replace Samba.Server.IP.Address with the IP address of your Samba server]. For Linux, the process may be different for different distributions, though you should be able to open the file manager and select a “Connect to Remote Host” option and enter smb://Samba.Server.IP.Address.
[Editor's note: Please note that Samba has multiple security options, and the above configuration is a basic configuration for storing files that don't contain sensitive data. If you wish to store and access sensitive data, please study Samba security in more depth.]
For more product updates and how-to tutorials, follow us on YouTube, our ameriBlog, Facebook, Twitter and Instagram!
